How to Take the Perfect Photo for AI Landscaping
The quality of your photo directly impacts the quality of your AI-generated designs. Here's everything you need to know to capture the perfect shot.
The Perfect Photo Checklist
✓ What Makes a Great Photo:
- Full yard visibility - You can see the entire space you want to redesign
- Head height perspective - Taken from about head height (5-6 feet off the ground)
- Landscape orientation - Rectangular photo (9:16 or 3:4 ratio)
- Clear blue skies - Bright, sunny conditions work best
- Straight angle - Camera held level, not tilted
- Good lighting - Natural daylight, avoid harsh shadows
✗ What to Avoid:
- Super close-up shots - Can't see the full context
- Super far away shots - Too much detail is lost
- Phone screenshots - With menu icons and UI elements visible
- Google Street View - Fisheye lens distorts proportions
- Dark, cloudy skies - Can confuse the AI processing
- Tilted angles - Makes it harder for AI to understand the space
Perfect Photo Examples
Here are some excellent examples that follow all our guidelines. Notice how each photo gives you a complete view of the space with clear details and good lighting.
Example 1: Perfect distance and angle - you can see the entire front yard with clear details
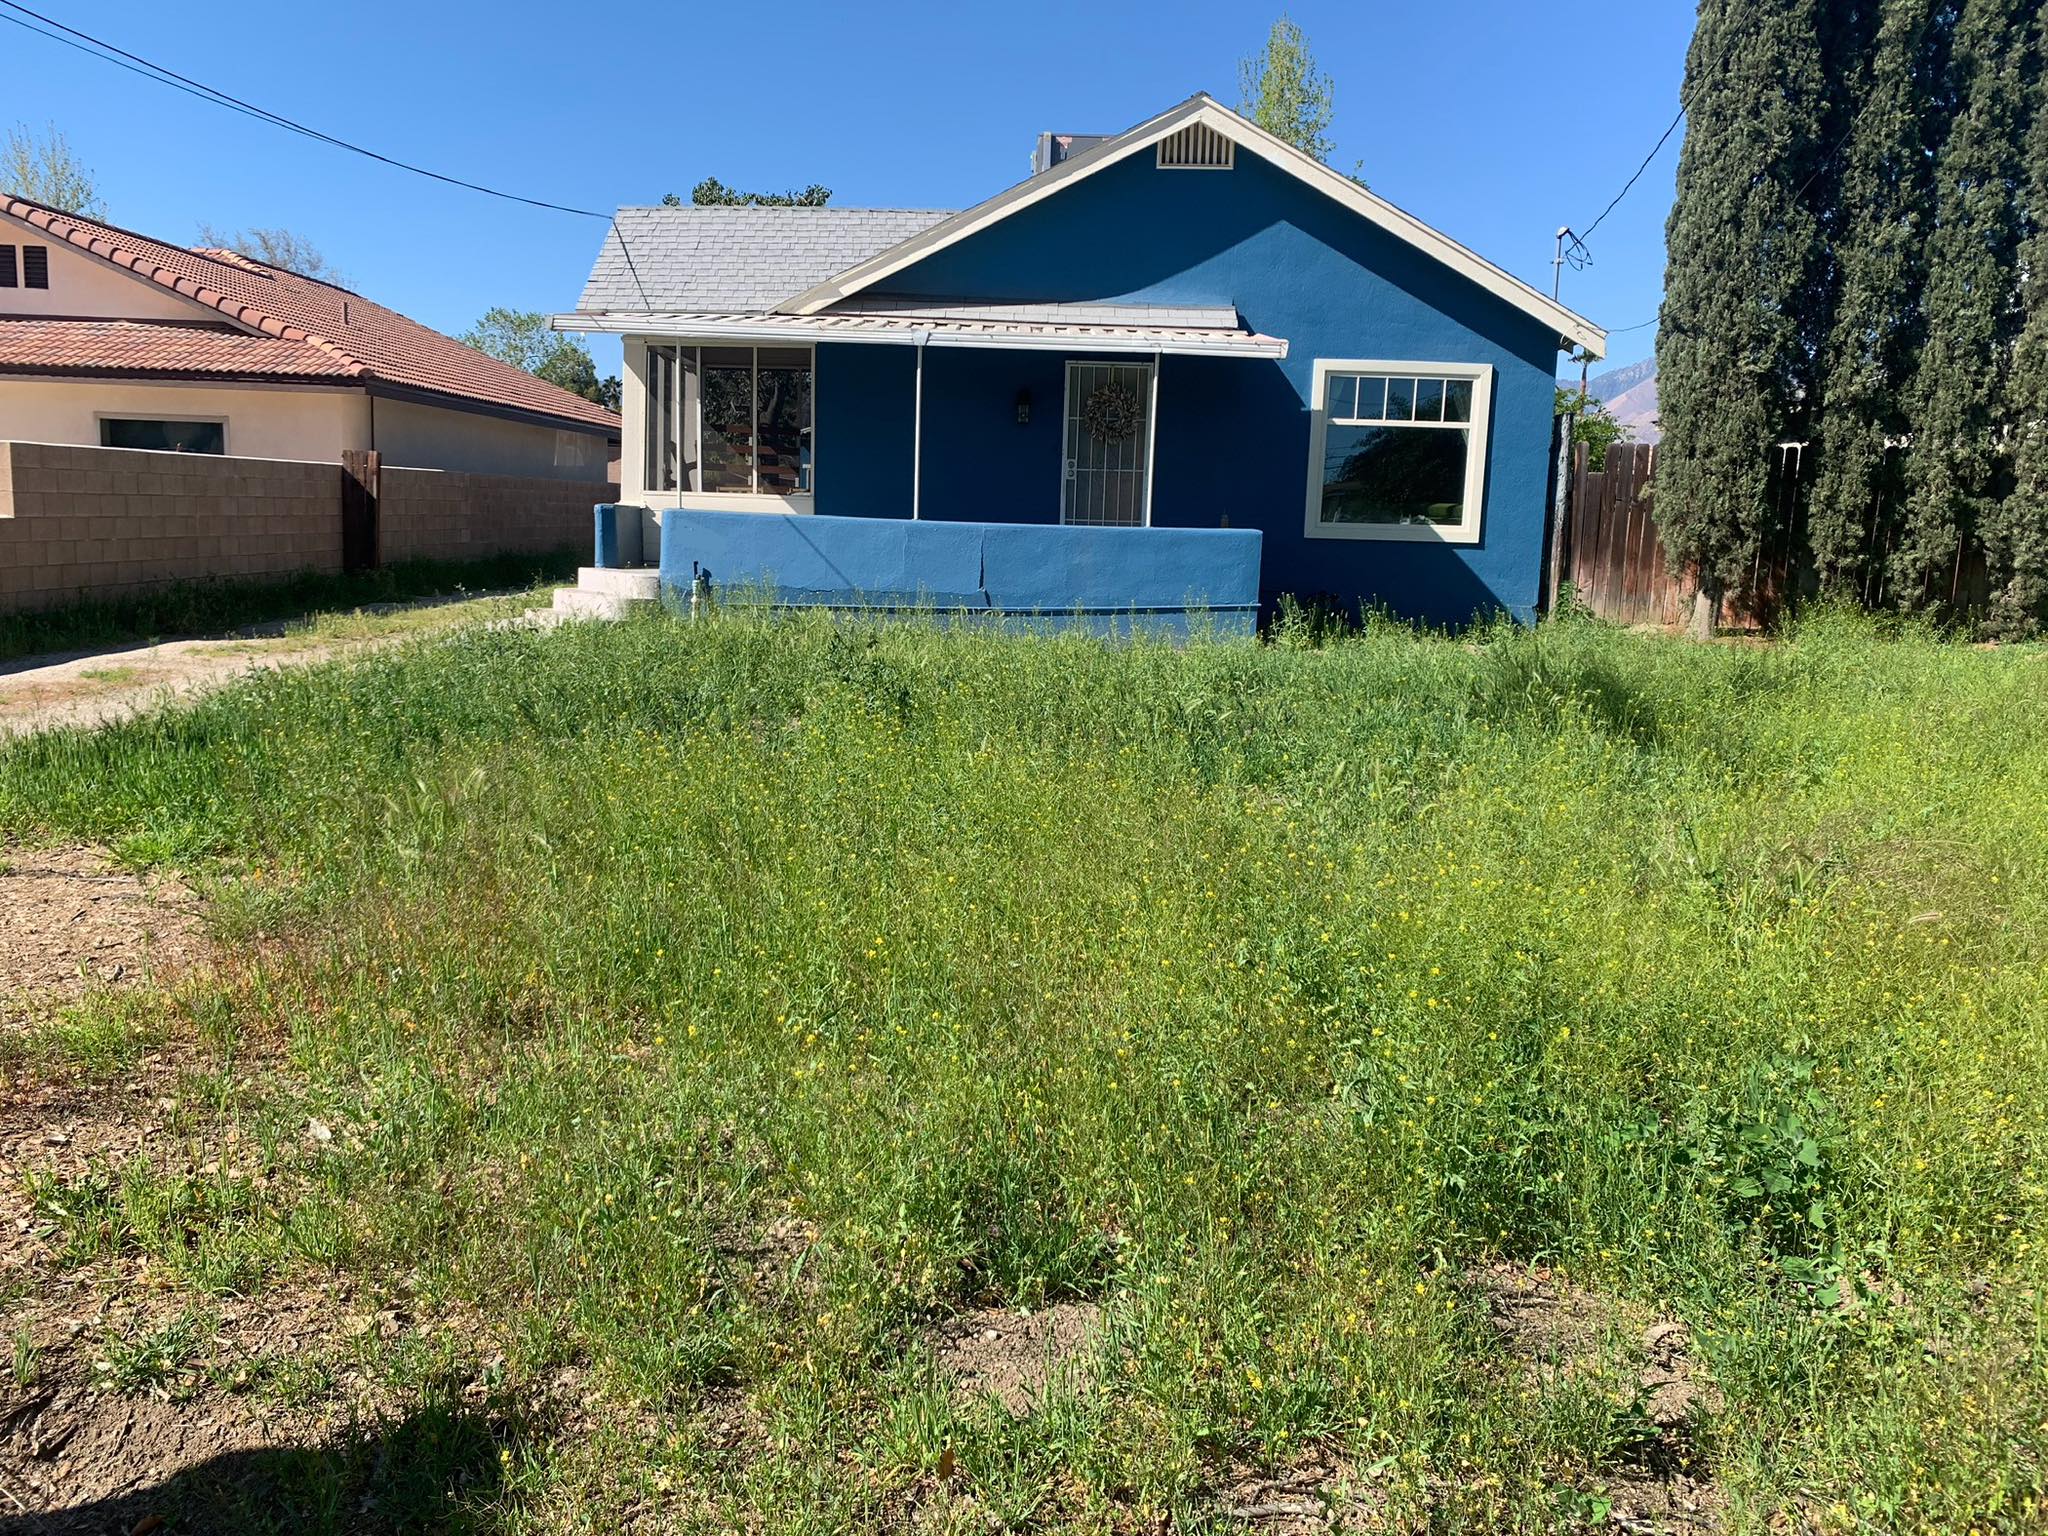
Why this works:
- • Full yard is visible from property line to house
- • Taken from head height with straight angle
- • Beautiful blue sky provides clear contrast
- • Landscape orientation captures the full width
Example 2: Excellent perspective showing both house and landscaping details
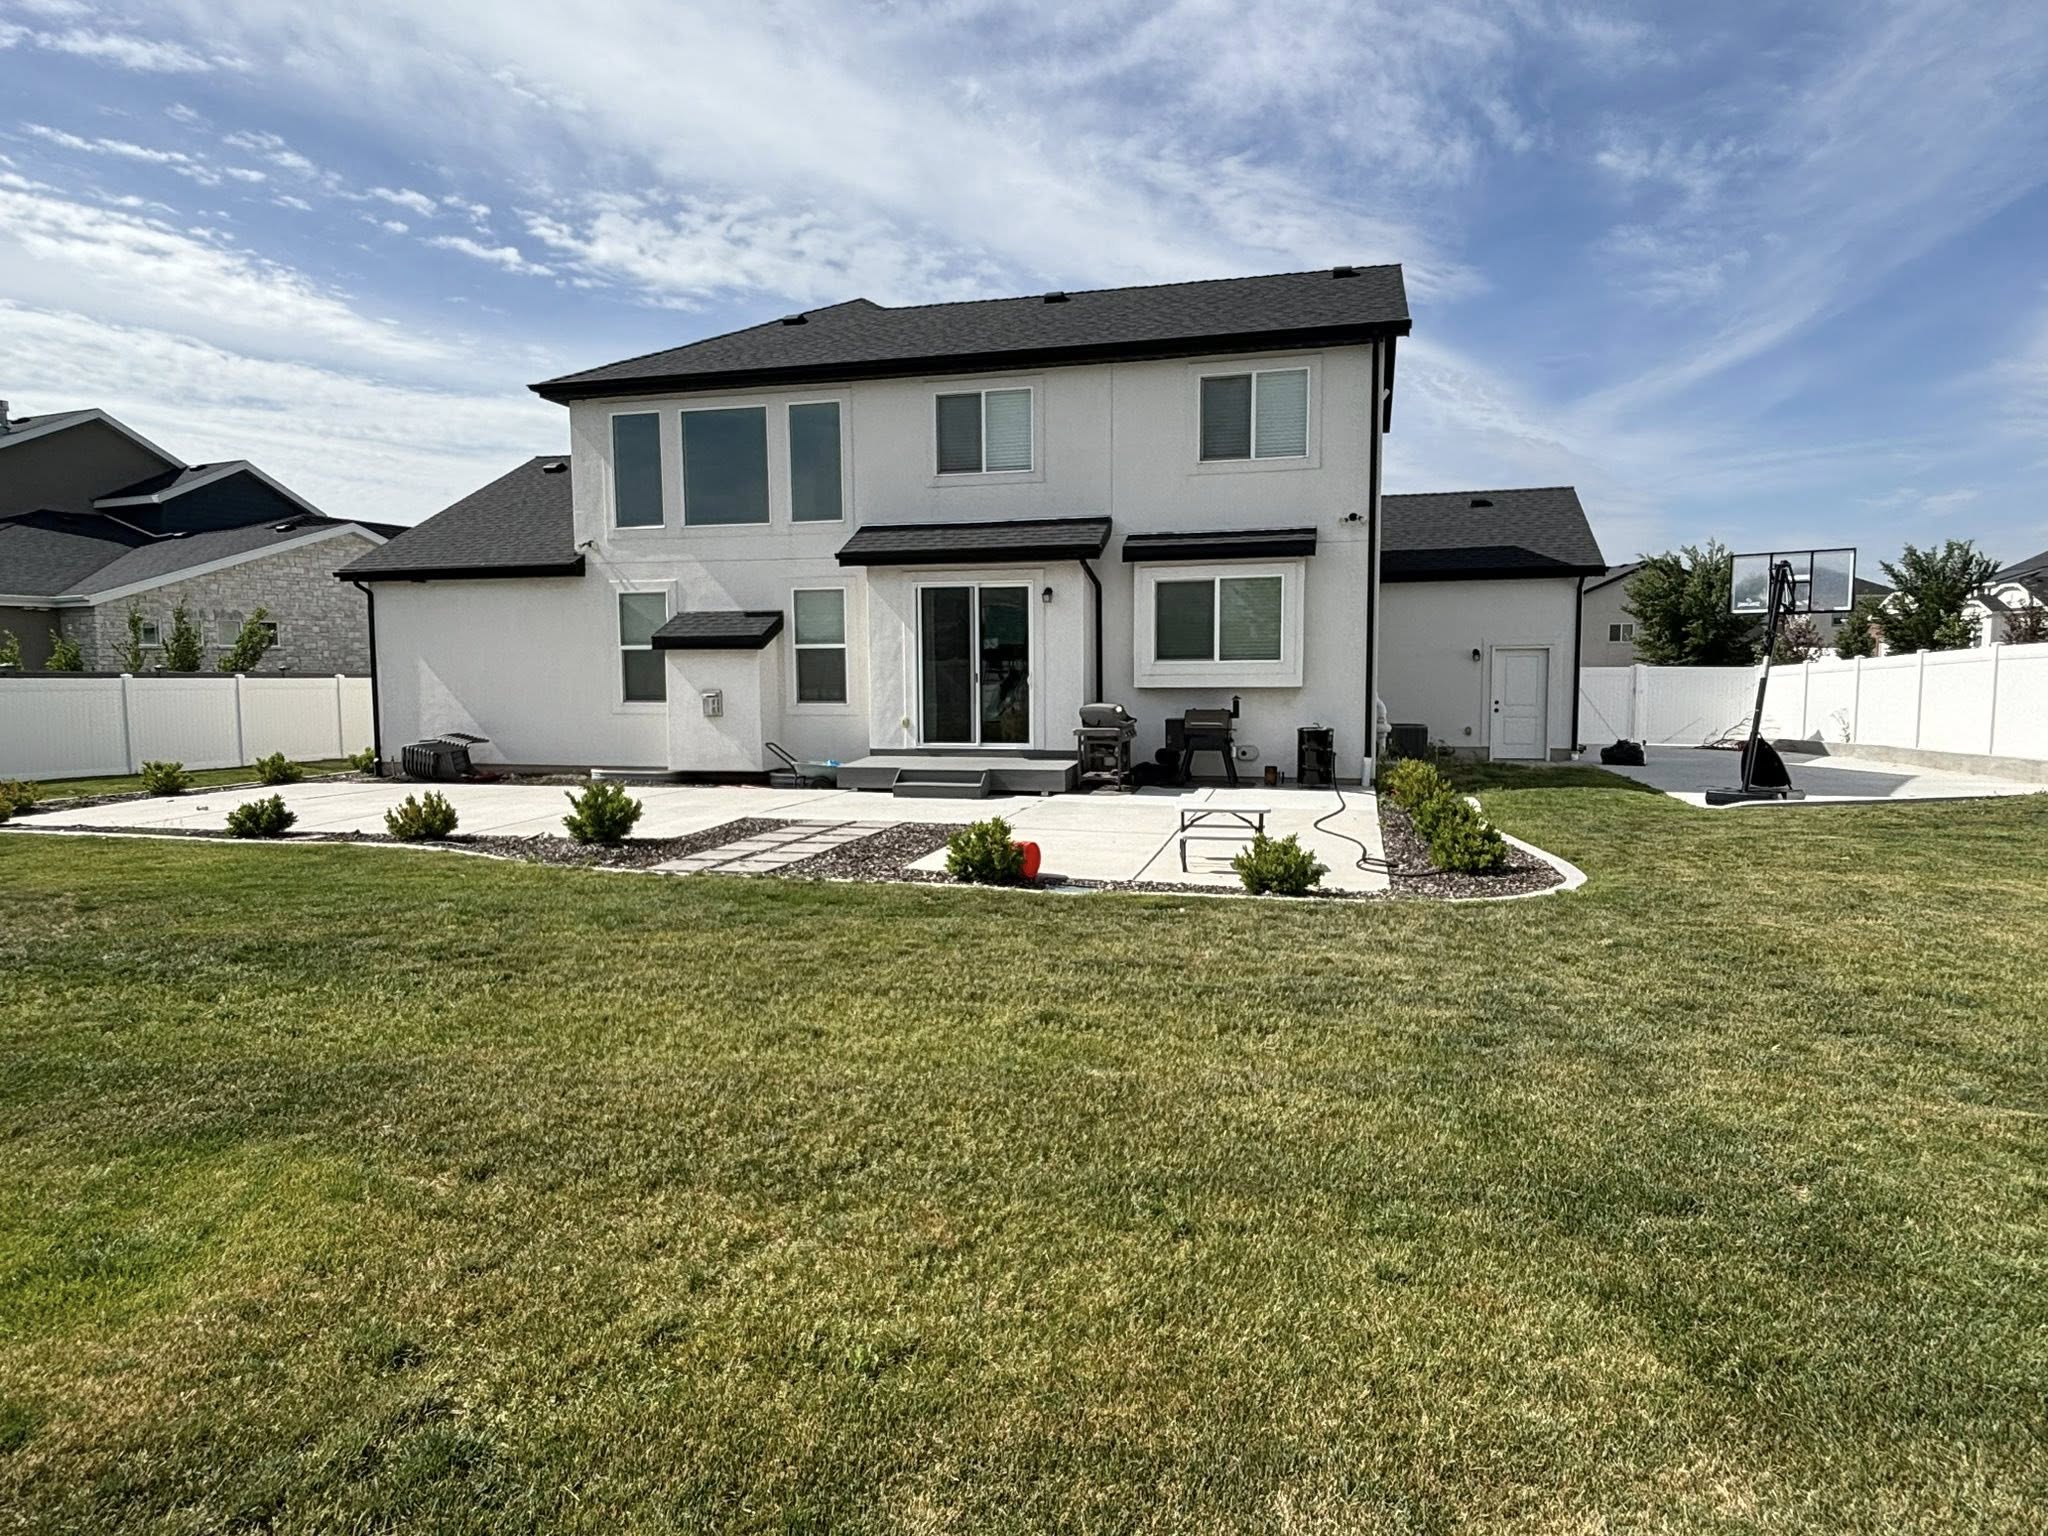
Why this works:
- • Perfect balance of house and yard in frame
- • Clear, bright lighting shows all details
- • Straight, level composition
- • Good aspect ratio for AI processing
Example 3: Great "before" shot showing the full backyard space
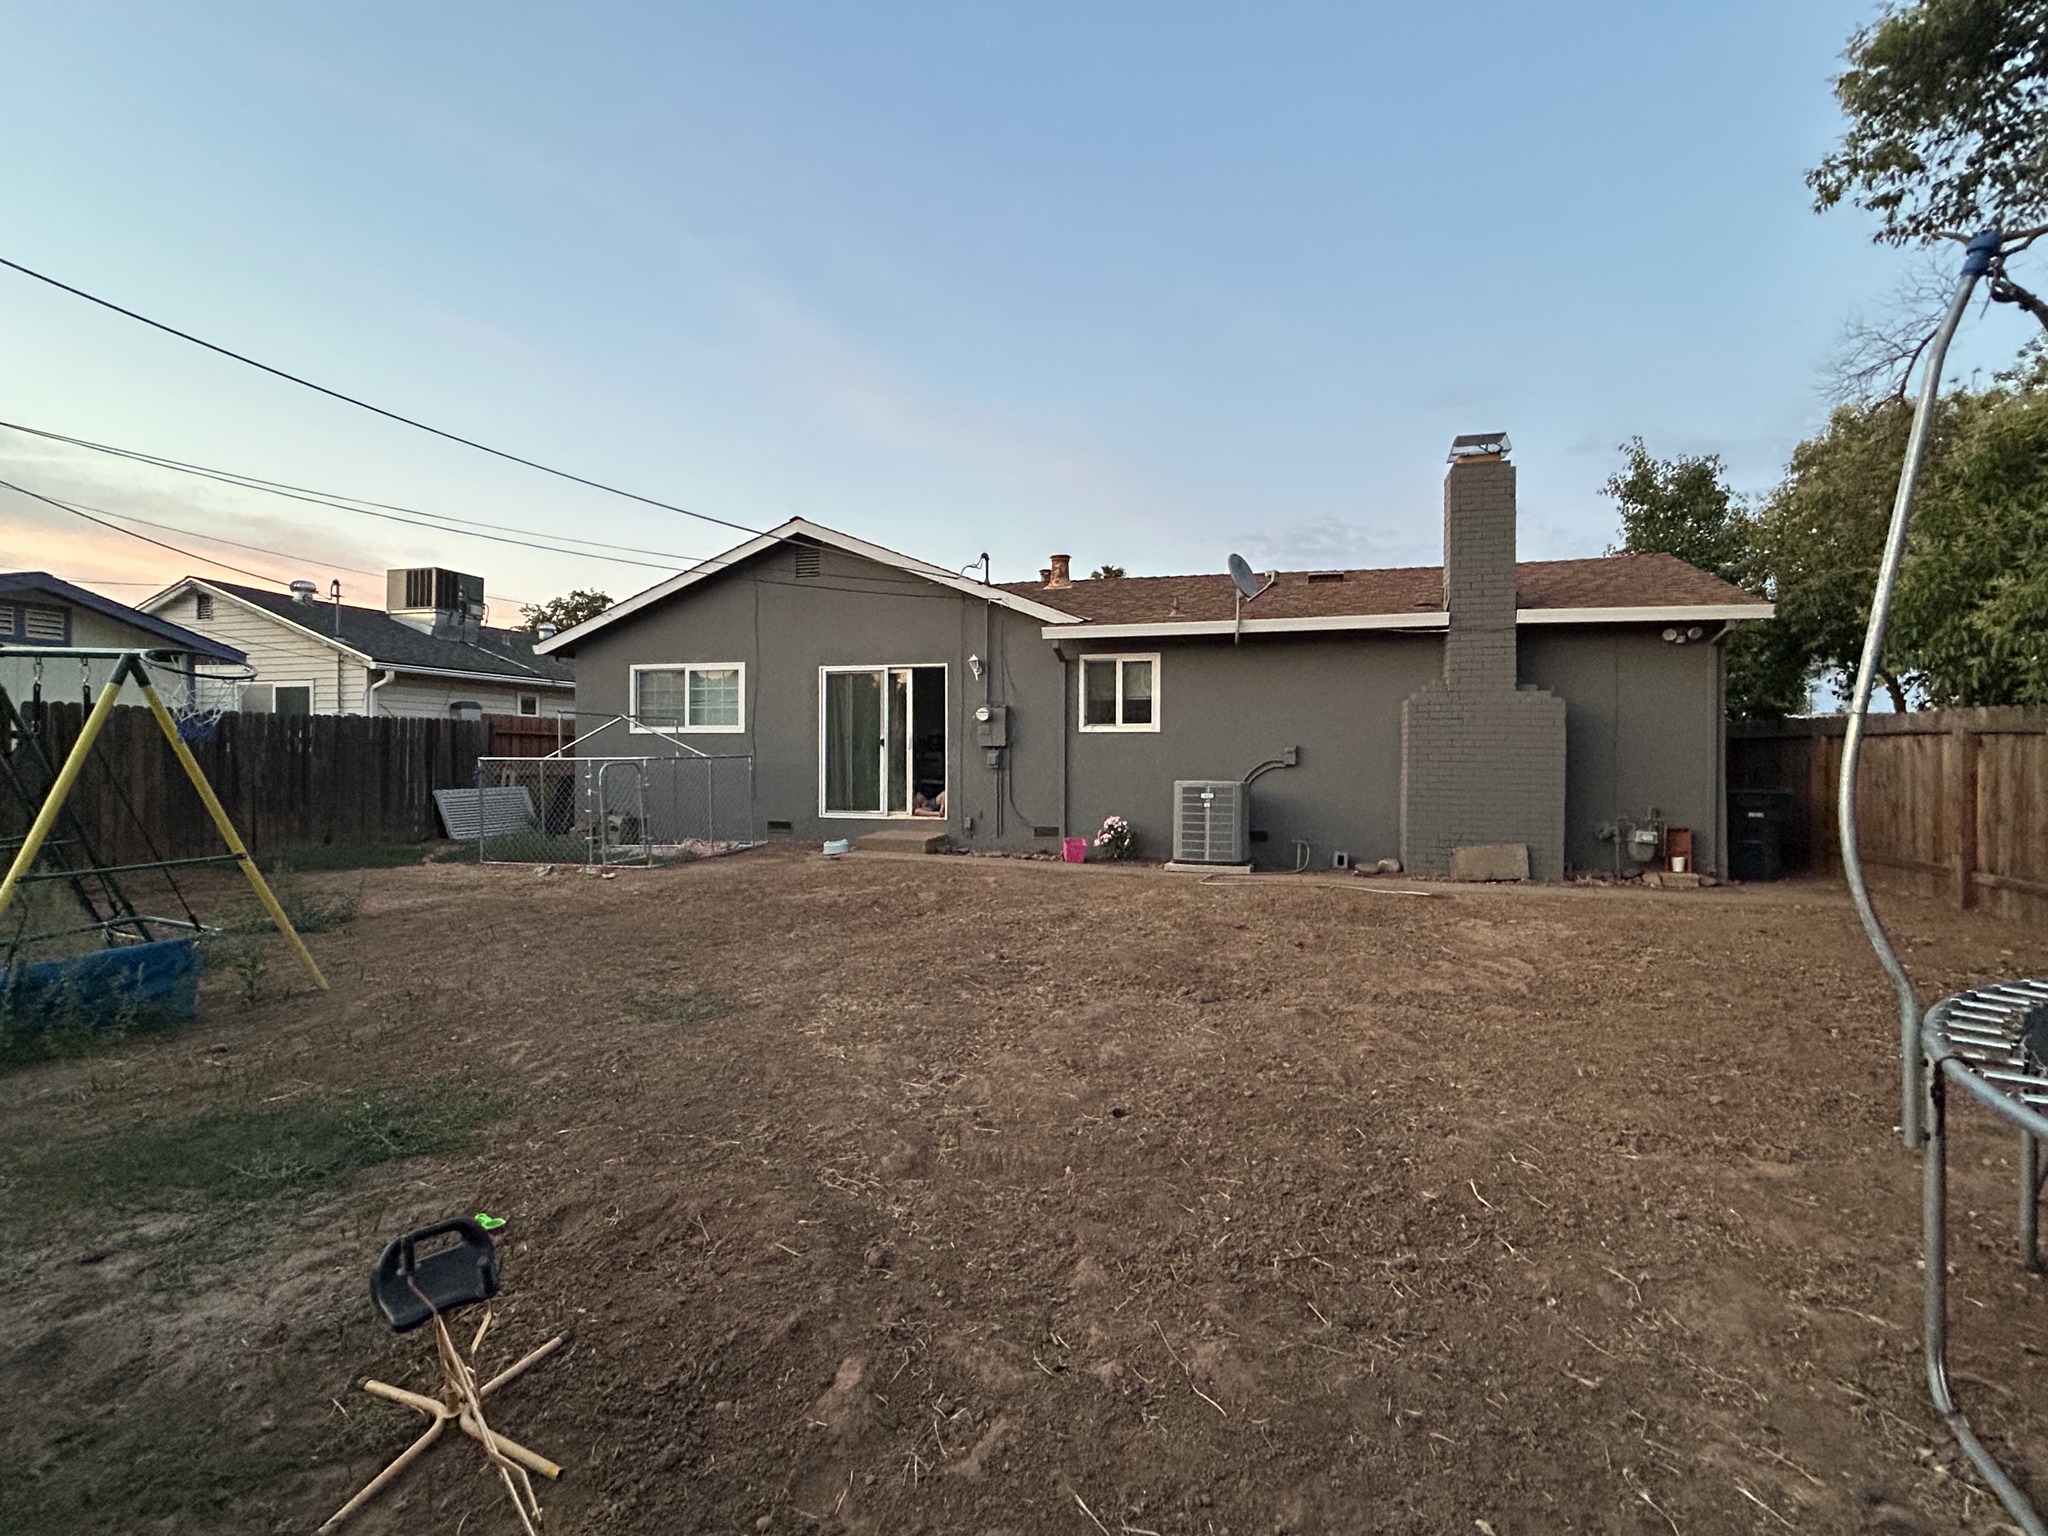
Why this works:
- • Complete view of the backyard space
- • Taken from appropriate distance and height
- • Shows existing structures and boundaries clearly
- • Even lighting across the entire area